


Making a Good In(Design)pression
This week I discuss taking notes in the timeline and then finding a way of making a well presented document from them.


While many of us have access to Adobe’s full suite of tools, most rarely stray beyond the core trio: Premiere Pro, After Effects, and Photoshop. Illustrator gets the occasional visit, but InDesign often feels like the black sheep of the family—especially in post-production. Yet for certain editorial workflows, it has its uses.

The History of InDesign
Launched in 1999, Adobe InDesign quickly overtook QuarkXPress to become the gold standard for page layout, winning over designers with its clean interface, deep Creative Suite integration, and precise typographic control. Today, it’s used for everything from glossy magazines to interactive PDFs, evolving alongside publishing with tools for responsive design, automation, and collaboration.
While it’s rarely a central tool in editorial, InDesign’s knack for producing clear, well-formatted PDFs means that it can do some interesting things very helpful when presenting data in a clear and concise way and relatively easy to produce.

From Dailies to Data
Last week I went through the process of adding notes using markers on the timeline as I watched the footage. For this weeks task I set myself the goal of getting these notes out of the Avid and into a well presented document using InDesign. While reviewing dailies, I use markers in Avid Media Composer to note the start of takes, flag standout moments, and log line readings. Filtering by colour or keyword lets me jump straight to the relevant points in the timeline.
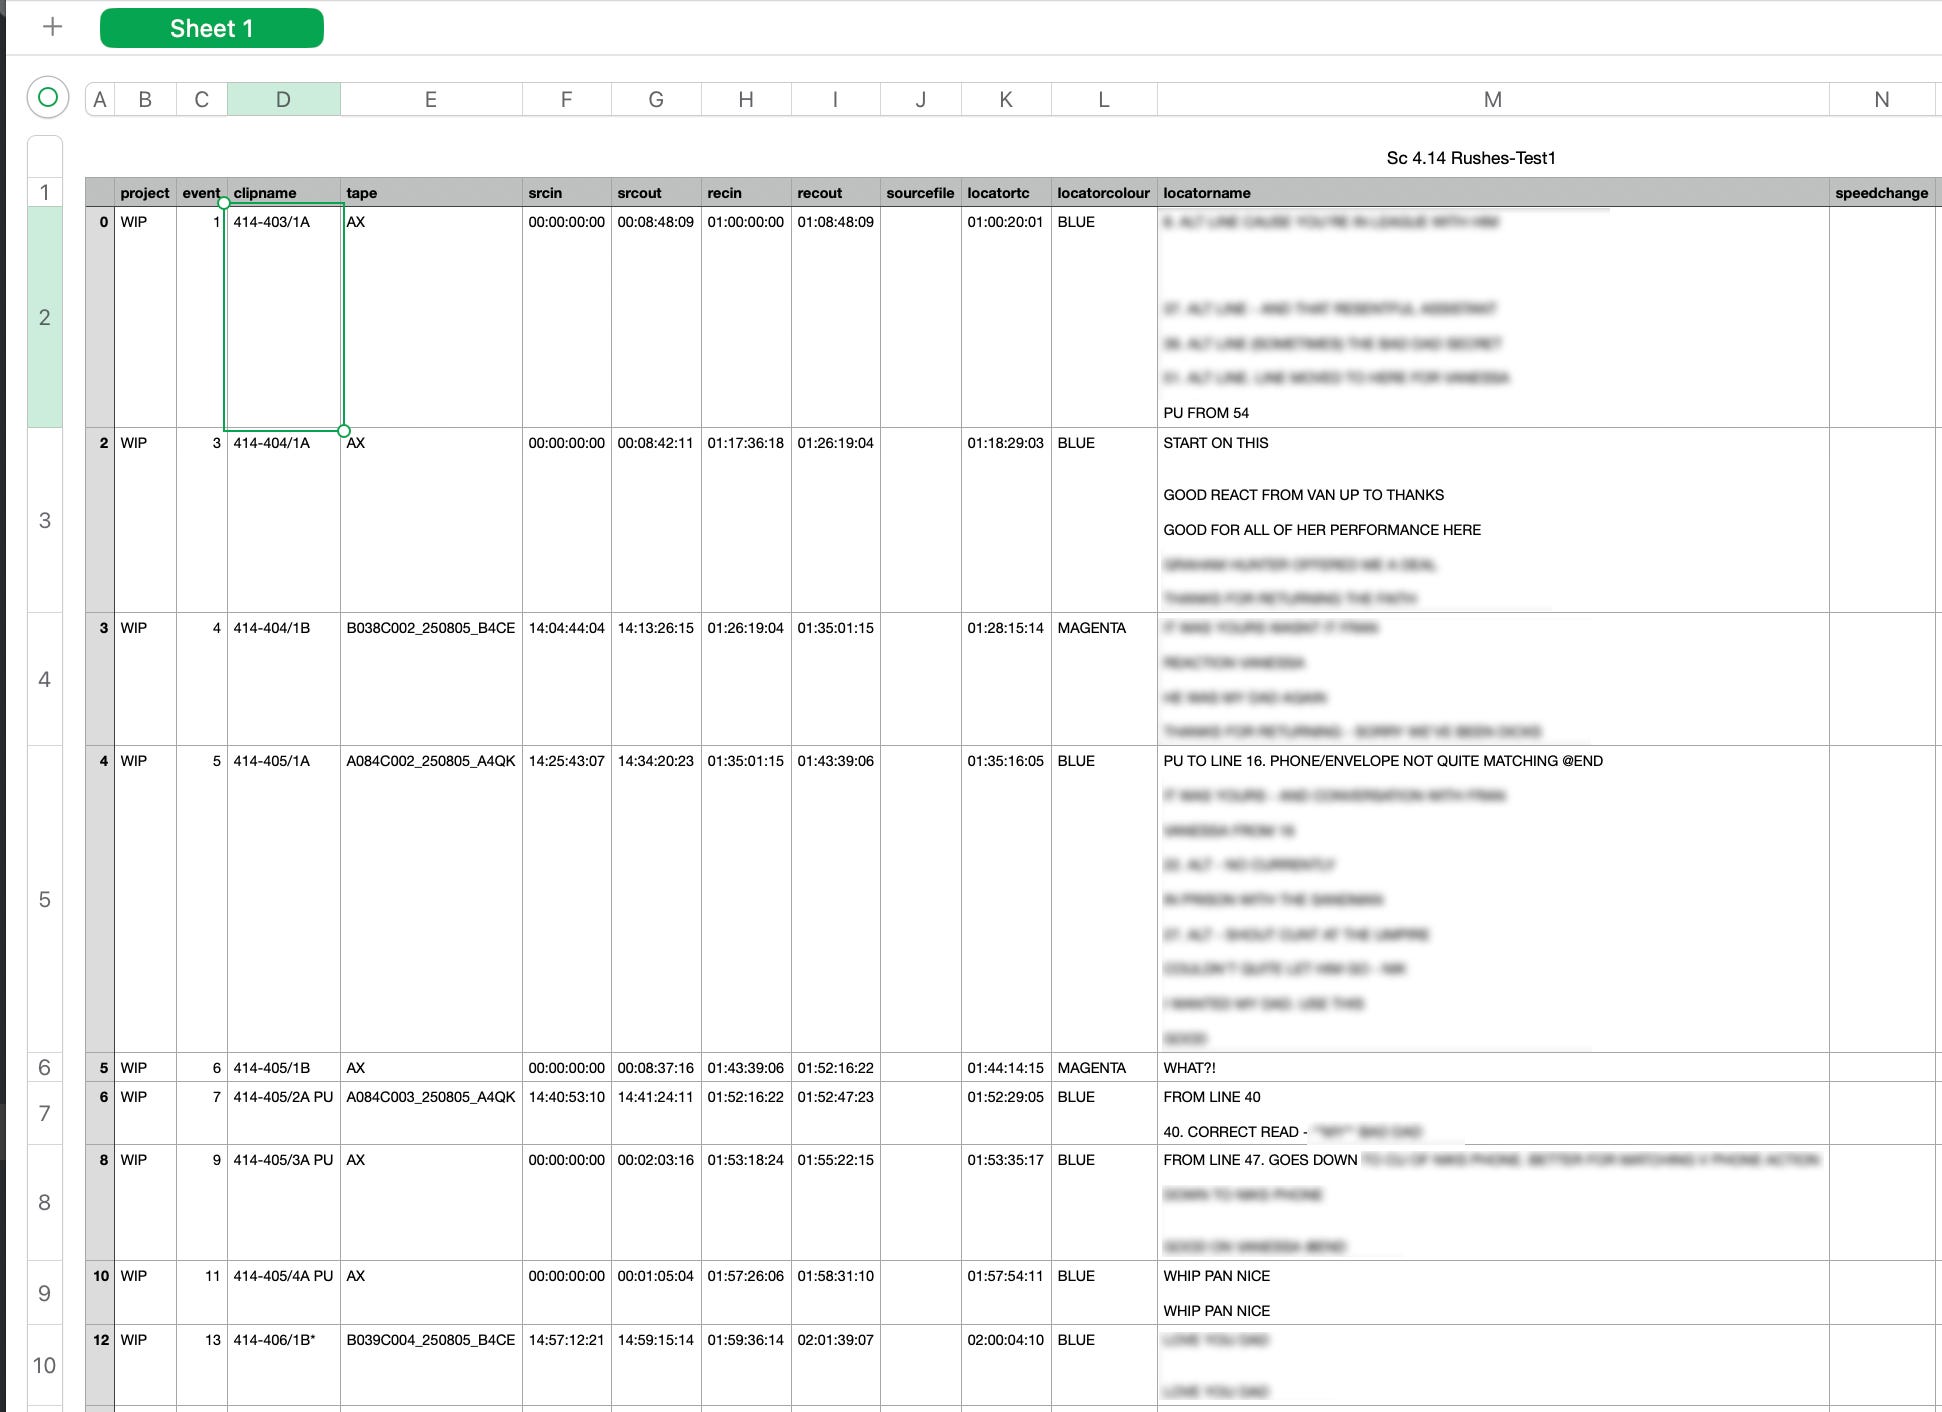
Using my Notez app, I can export these markers into a spreadsheet, complete with clip names and note text. From there, InDesign takes over, turning the raw spreadsheet into a clean, readable PDF. The result is a professional-looking document that consolidates all the information about individual clips—far more polished than a plain CSV.

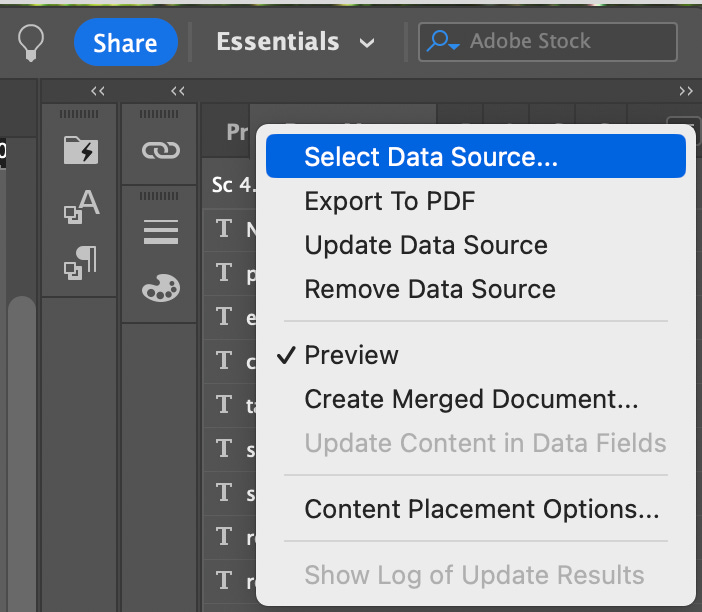
Automating Layouts with Data Merge
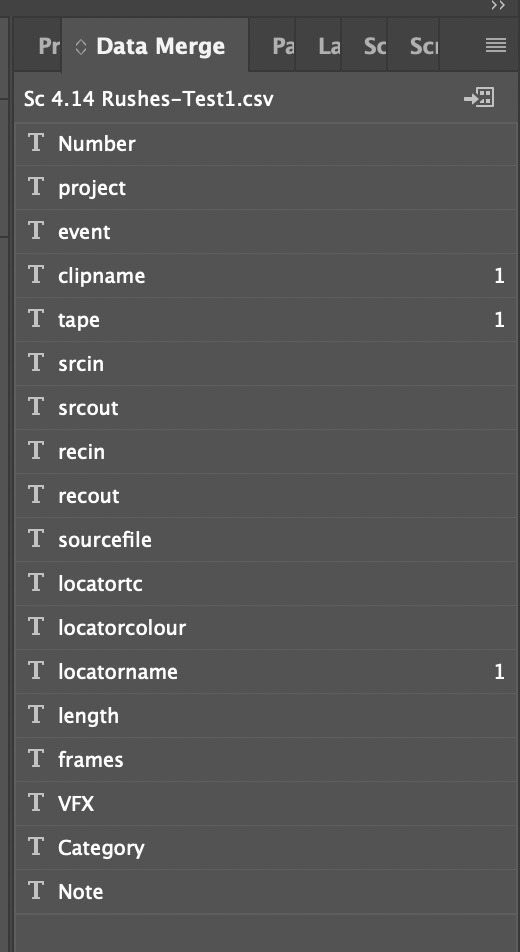
The secret is InDesign’s Data Merge feature. You start with a well-prepared CSV file—clear headers, clean formatting—then import it into InDesign as a data source. Each column becomes a placeholder you can drop into text frames or image frames. After laying out the design, a quick preview checks for formatting issues before generating the merged document.
This process can turn a simple spreadsheet into dozens or even hundreds of personalised, print-ready PDFs without touching each one individually.

Adding Images Automatically
Data Merge isn’t just for text. If your CSV includes an @image column, InDesign can automatically place the right picture for each record. Add the column to your spreadsheet, prefix the header with “@” (for example, @Photo), and fill it with exact file paths or filenames. Keep all images in a consistent location, and InDesign will insert them into your layout during the merge, keeping scale and frame properties intact.
This ties in perfectly with a new Avid workflow: exporting markers as JPEGs, with the marker number and comment in the file name. In theory—and soon in practice—this means you could export all your markers as images, link them via the @image field, and have InDesign build a fully illustrated marker log automatically.

This tutorial breaks down the process: