Tim's Tool Pallette Tips
While many talk about setting up keyboard hotkeys, gaming mice, and Stream Decks, sometimes the quickest way to get something done is just a little flick of the mouse and a click of a button.

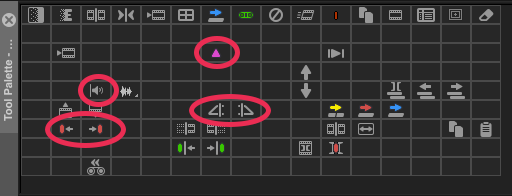
While a lot of people talk about setting up keyboard hotkeys, gaming mice, and Stream Deck shortcuts and macros, sometimes the quickest way to get something done is just a little flick of the mouse and a click of an on-screen button. For this reason, I’ve always taken time to organise my tool palette so that the buttons are easily visible.

Buttons in Avid
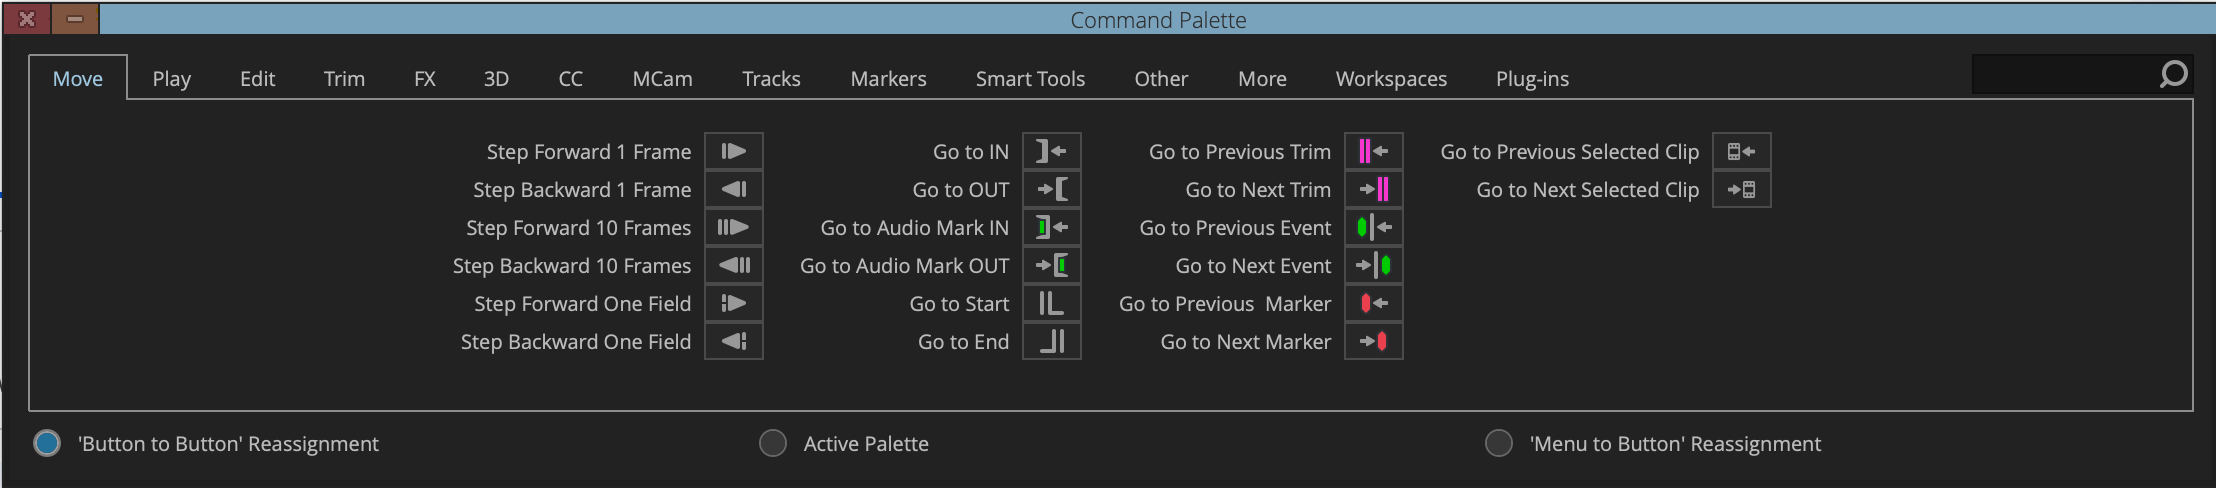
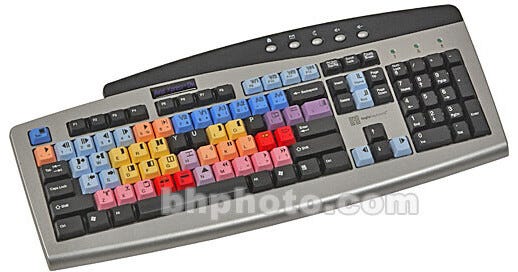
Historically, Avid always relied on a keyboard packed with features that allowed you to do the relatively complex job of editing picture and sound. Many functions were mapped onto the keyboard — so much so that most Avid editing systems came with a dedicated keyboard featuring both the regular QWERTY layout and those mapped buttons. On top of that, you could create a fully custom keyboard by mapping whichever buttons you chose. All of this, of course, with the aim of speeding up your editing workflow. A press of ⌘ + 3 would bring up the console and the full array of available buttons. In later years, Avid also added the ability to assign menu bar functions as keyboard hotkeys — click the small button at the bottom of the buttons console and you could map any menu item to a key. To this day, one of my favourite buttons is the Restore Default Patch (Timeline/Restore Default Patch) key, which resets all source-to-record track wirings back to their default state.
One thing I’ve always tried to do is return to this console every few years to see what new buttons have been added. It’s amazing what features appear from version to version, and I always get excited by a new button. (Anyone raising their eyebrows right now clearly hasn’t read many of my posts)
The other area I began to use more was the tool pallette. Historically it was a small add-on that appeared when you clicked the on-screen burger menu button — essentially a place to store any buttons that didn’t fit on your keyboard or in the panels above and below your timeline, source, and record windows. Early on I realised that although the toolbar was generally just two straight rows of buttons, you could expand it and arrange buttons across a larger area, grouping like-for-like functions that were much easier to navigate at a glance.
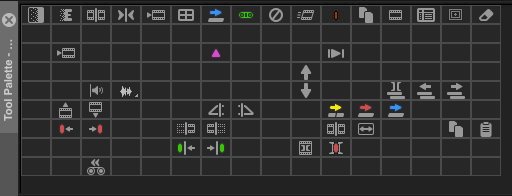
More recently, Avid added the ability to create multiple tool palettes, which I’ve taken full advantage of. I now have two main toolbars embedded in my source/record and timeline screen. One sits between the timeline and the source and record windows, giving me quick access to whichever buttons I need there. The second lives above the source and record panel and is a simple row containing all of the marker colours — something I’ve found really helpful for marking up sequences using the full range of new marker options.


Buttons I Use a Lot
In recent years, Avid introduced a dedicated button for toggling audio scrub on and off. This has been enormously popular — before it existed, the function was tied to Caps Lock, and the resulting chaos (ruined text documents, days spent screaming at the Avid on the rare occasions you had to do a lot of typing) is thankfully behind us. That button now sits right at the heart of my toolbar. I also use the toolbar for skipping between markers back and forth, and for Show Waveform, which I love — though my feelings about waveform options probably deserve a dedicated post of their own.
I also love Head Fade and Tail Fade, which allow you to stretch a dissolve to the point in which you are sitting on the timeline (so much so that I rarely use the dissolve function nowadays)